Wednesday, September 7, 2011

Five Spice Turkey Lettuce Wraps


It's hard to get out of the weeknight dinner rut. I find myself making the same favorites over and over. I am pretty much always checking websites and blogs for new recipes, but sometimes it's just easier and safer to stick with what you know how to make and you know will be good ... because we all hate being dissapointed. But every once in a while I find a recipe online that just screams easy and safe but still exciting. This lettuce wrap recipes comes from Cooking Well so it is not only easy, but healthy and low cal. Extra bonus!


You'll need:

1/2 cup brown rice
2 teaspoons sesame oil
1 pound 93%-lean ground turkey
1 tablespoon minced fresh ginger
2 cloves of garlic, minced
1 large red bell pepper, finely diced
1 8-ounce can water chestnuts, rinsed and chopped
1/2 cup reduced-sodium chicken broth
2 tablespoons hoisin sauce
1 teaspoon five-spice powder
1/2 teaspoon salt
2 tablespoons soy sauce
2 heads Iceberg lettuce, leaves separated
1/2 cup chopped fresh cilantro. You can also use basil, mint and/or chives
1 large carrot, shredded
Sriracha if desired

Cook the rice according to package. Set aside once cooked.

Meanwhile, heat the sesame oil in a large nonstick pan over medium-high heat. Add turkey, garlic and ginger; cook, crumbling with a wooden spoon until the turkey is cooked through. Stir in the cooked rice, bell pepper, water chestnuts, chicken broth, hoisin, five-spice powder, soy sauce and salt; cook until heated through and sauce begins to thicken.
Divide lettuce leaves among plates, spoon some of the turkey mixture into each leaf, top with herbs and carrot and a squeeze of sriracha if you like it spicy.

Serves 4 with about 1 1/4 cups of filling each.
285 calories per serving.

This is the kind of dinner that leaves you feeling satisfied but not stuffed. It's also a good idea for low carbers out there- you can just omit the rice.

Thursday, September 1, 2011

#winning!

Last night I met up with my book club in San Francisco. We use the term "book club" loosely as it usually involves about 5-7 minutes of discussing the book and about 3 hours of drinking champagne, eating and talking about any or all of the following: how our days went, plans for the weekend, Real Housewives, celebrities, Hunger Games, our husbands/fiancés/boyfriends, current events, other books we should read, and how much or how little of the color white a dress needs to have to be appropriate attire for a wedding. Everyone (usually) reads the book, but there are often way more interesting things to talk about, obviously.


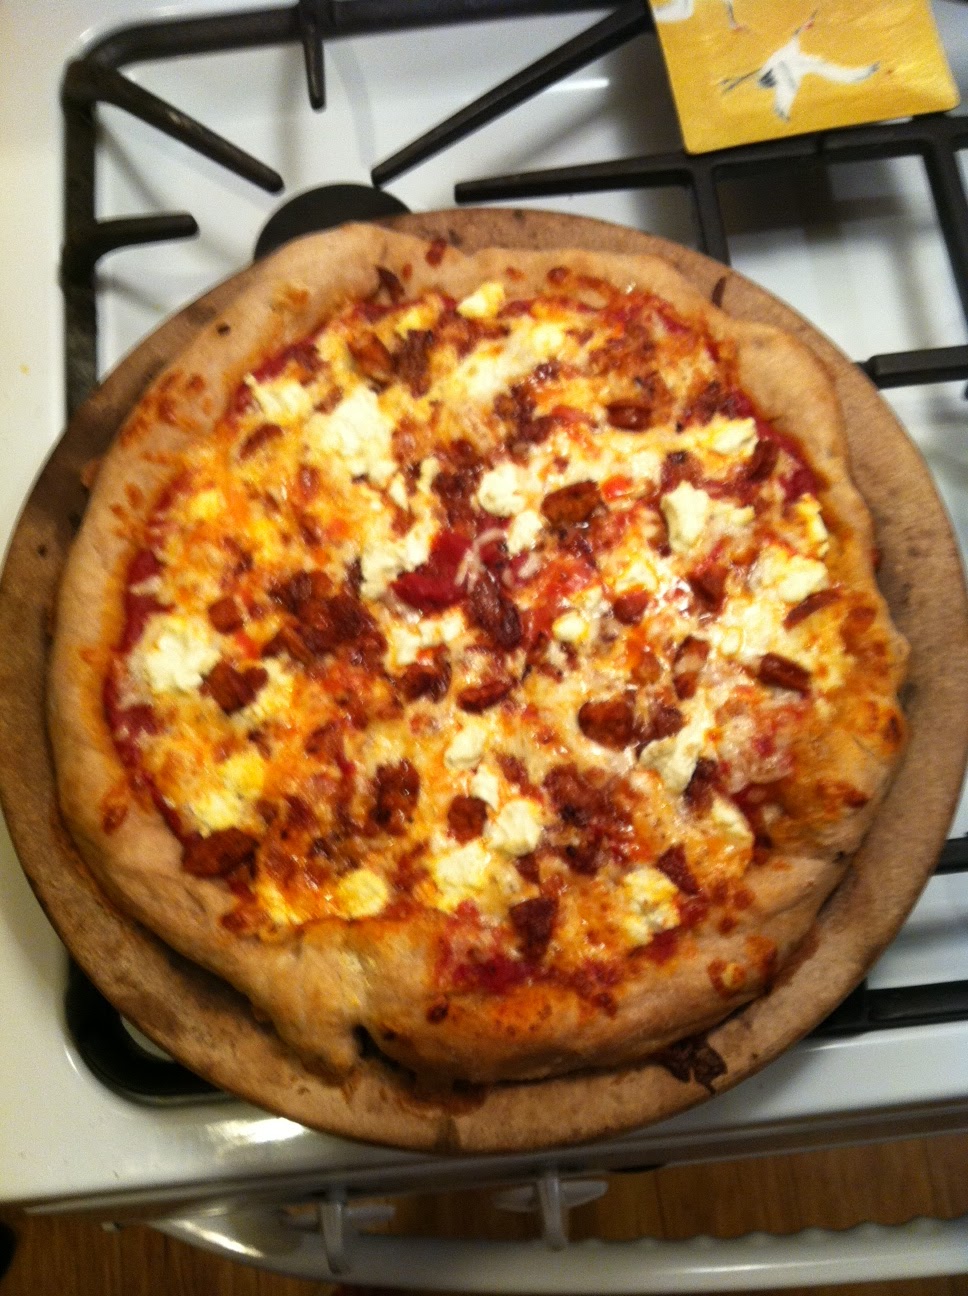
Kelsey hosted, and in usual Kelsey fashion she decided to throw a wrench in the plan by turning dinner into an Iron Chef style competition, complete with a surprise ingredient. She provided all of the elements needed for making pizza. Mar, Christina, Serene and Lyndi volunteered to be judges, vowing to be unbiased. Names were drawn from a hat to determine the two-person teams. Names were drawn again to determine which team got which type of crust: wheat, white or herb, and once more for who would have the advantage of using the pizza stone. Plans were whispered, wine was poured and NewVillager was put on the stereo...


 the judges

My name was drawn to be teamed up with Carol and we were initially told that it was an unfair pairing. Words like “power couple” were used. I think I heard someone murmur something about Martha Stewart and Julia Child. Exaggerating? Maybe. But the results speak for themselves… We won. Unanimously. So after a few minutes of basking in the glory of our triumph, we shamelessly asked what it was about our pizza that set it apart? Three words: Fresh Arugula Drizzle. Mid-competition when the surprise ingredient was introduced… Arugula!! … Carol opined that we should lightly dress the peppery leaves with balsamic and olive oil, then pile it atop the pizza after it was baked. I agreed. Then I pitched the idea of a light drizzle of garlic and basil infused olive oil on top of the plated slices after they had been served to the judges (I had just read this post from Smitten Kitchen earlier that day). Said combo of Arugula and oil drizzle scored big in the categories of presentation, drama and taste.

#winning!


Sadly, we did not get a picture of our finished product, it was eaten up so fast. But here's the beautiful runner up!

Wednesday, August 3, 2011

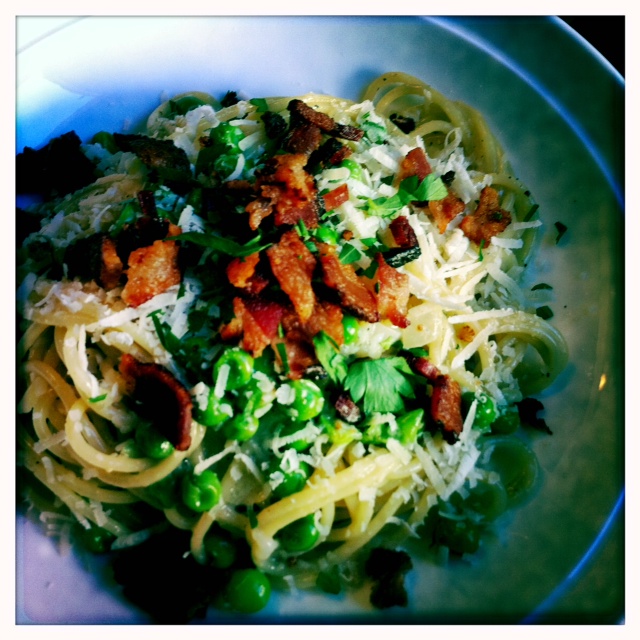
Skinny Spaghetti Carbonara


I am not a traditionalist when it comes to food. You’d think because I lived and basically started my cooking life France, I would be… but I’m not. Unless I'm making something specific, for a special event, I do not take any recipe too seriously. I like to change them up, make them my own. Usually out of a sense of frugality, I like to use what I have on hand. And out of a childhood watching my mom throw this and that into a pot without ever really referencing a recipe, I find myself doing the same.
I know that many people might be offended when I call this Spaghetti Carbonara, when it has a few non-traditional ingredients. But what else can you call it? Carbonara-ish? I just call it “Skinny Carbonara” because it comes from one of my low-calorie cookbooks called Cook Yourself Thin: Skinny meals you can make in minutes.

I was introduced to Carbonara when I was living in France, and ever since then it has been one of those foods that sort of transports me back. It is warm and salty, creamy and comforting. This recipe is just as much of all of these things, but manages to do it in under 450 calories per serving. This is definitely on the dinner rotation at our house. Especially since we're T minus 19 days until our Lake Tulloch trip where we basically live in bathing suits 18 hours a day.

The recipe actually calls for 3 slices of bacon, but since it makes 4 servings, I usually do 4 slices. With one slice of bacon coming in at 70-100 calories adding one more only bumps the calorie count by 25 calories per serving. The 425 count includes the 4th slice.


Spaghetti Carbonara, adapted from Cook Yourself Thin
Serves 4
Calories per serving: 425

Ingredients:
4 slices of bacon
1 teaspoon olive oil
1 small onion, diced
1/3 cup 1% milk
1 large egg
8 ounces of spaghetti
1 cup frozen peas
1.5 ounces parmesan cheese, finely grated
4 tablespoons chopped flat leaf parsley
salt & pepper to taste

1. Cook the bacon in a large skillet over medium heat until brown and crisp. I like to slice it into lardons before cooking. Move to a paper towel and drain the bacon grease. Add the olive oil to the pan and then add the onion, stirring occasionally until soft and translucent. Remove from the heat.

2. In a large serving bowl, whisk together the milk and egg, then stir in the onion. Add a few grinds of black pepper and stir.

3. Bring a large pot of salted water to a boil. Cook spaghetti according to the package instructions. Two minutes before the spaghetti is done, add the peas. Drain the spaghetti and peas, reserving a half cup of the pasta water. Add the pasta/peas to the egg mixture, tossing until the pasta is well coated. I like to add in about a quarter cup of pasta water to give it a little body. Add the cheese, half of the parsley, salt and more pepper to taste.

4. Plate up the pasta, top with crumbles of bacon and garnish with parsley. Serve immediately.

Remember not to put the pot back on a burner once the egg mixture is in there. You dont want scrambled egg spaghetti. Also, something to be aware of: this recipe is best with regular pasta since whole wheat competes with the taste of the sauce.

Buon Appetito!

Tuesday, July 19, 2011

BBQ Chicken and.... Cucumbers

Just another simple summer dinner here: BBQ drumsticks alongside some perfectly ripe cherry tomatoes and Asian inspired cucumbers. Fun, fresh and delicious. The chicken was finger lickin' thanks to my husband and his BBQ skills, but what I really want to talk about here is the cucumbers.

Now let me to fill you in on the story behind these cucumbers... It has been a summer tradition with my group of friends from college to do a camping canoe trip on the Russian River up in Northern California. We camp for the weekend and on Saturday we pack up coolers, rent canoes and spend the day lazily floating. And drinking. And eating. And generally just soaking up the sun.


We make quite a few stops along the way... swimming holes, rope swings, beaches where we pull over and drink Coors Light until the rest of the group catches up. Even though we only go about 2 miles an hour, it's somehow really easy for our 8 canoes to get split up.


One of the very last stops we make is at the little private beach where my friend Conor's parents have a house. Now Conor's mom is so sweet. She always makes about thirty PB&J sandwiches and packs them up to bring down to us. I think it takes about 2 minutes for our group to devour all of them. Anyway, a few years back she had so many cucumbers from her garden, she brought us some of those too. She marinated them 3 different ways... and I can clearly remember only one of them. It was amazing. It entailed some rice wine vinegar and sesame oil. She let them soak it up and put them in little ziplocks for us. I remember laying on the hot rocky beach, eating one after another just blown away by the flavors.

So this is my little rendition of those cucumbers. 
I don't think any I make will ever be as good as Ceci's, though.... 

I slice them lengthwise as thinly as possible. Sometimes I use a vegetable peeler. You can use a mandolin if you have one. Let them hang out with about a 2:1 ratio of rice wine vinegar to sesame oil. Sprinkle on some sea salt and some whole sesame seeds and you've got a refreshing summer snack. Paired with Scott's BBQ chicken and I was in heaven. I love Summer.

Thursday, June 23, 2011

Summer Dinners

It's nearing the end of June... and for me, it's finally starting to feel like summer. And although I am a fan of Fall, I do like summer evenings because they are long and the air is warm. The evenings where you get home from work and there's still plenty of daylight left to drag out the BBQ, fix up dinner and enjoy it slowly out on the porch. Pour a glass of wine, talk about your days and just soak up the summery scents and warmth of the air.

 Last night Scott and I threw dinner together with only the food we had at home. Starting with a Caesar salad with homemade croutons. We had 50/50 salad mix (half baby spinach half spring mix) I don't usually have croutons, but we did have some leftover sourdough bread that I cut up into pieces, drizzled in olive oil and baked in the toaster oven until they resembled croutons. Lightly dress the salad with Caesar dressing and sprinkle with Parmesan. Simple but delicious.

I love Trader Joe's frozen colossal shrimp. They're perfect because they thaw and cook fast. Defrost in a baggie with some olive oil, garlic and cayenne pepper and put them on a medium grill for 2 minutes on each side until pink. Scott BBQ'd the shrimp while I made the polenta- sort of a shrimp and grits dish.

There's something very fancy to me about eating simple meals. Not a lot went into this meal, the ingredients were few and simple. This style of cooking really makes your quality ingredients shine; lets the food speak for itself. And it seems like more and more people are migrating toward simple these days. Getting down to the basics. Eating whole foods and seasonal ingredients. I am a fan.


PS- I am taking a new approach to my blogging here. I am going to post everyday food, like I like to eat it among the posts about sewing projects and special recipes. Photos are being taken with my iphone. Because I rarely feel like lugging out the big boy camera.

Wednesday, June 15, 2011

Best Fish Tacos Ever!

Fish is super good for you. But unless you really like fish, it's difficult to incorporate it into your dinner rotation. I know I don't ever feel like fish. I never have a craving for a certain kind of fish. So in my case, a filet of Salmon, no matter how dressed up, is not going to be a regular meal staple. Anyone else in that boat with me? Then there are people with super-human resolve to eat healthy no matter how much they hate the flavors. Where the desire for a smaller waist outweighs the desire for that slice of pizza. I wish I had that kid of drive.


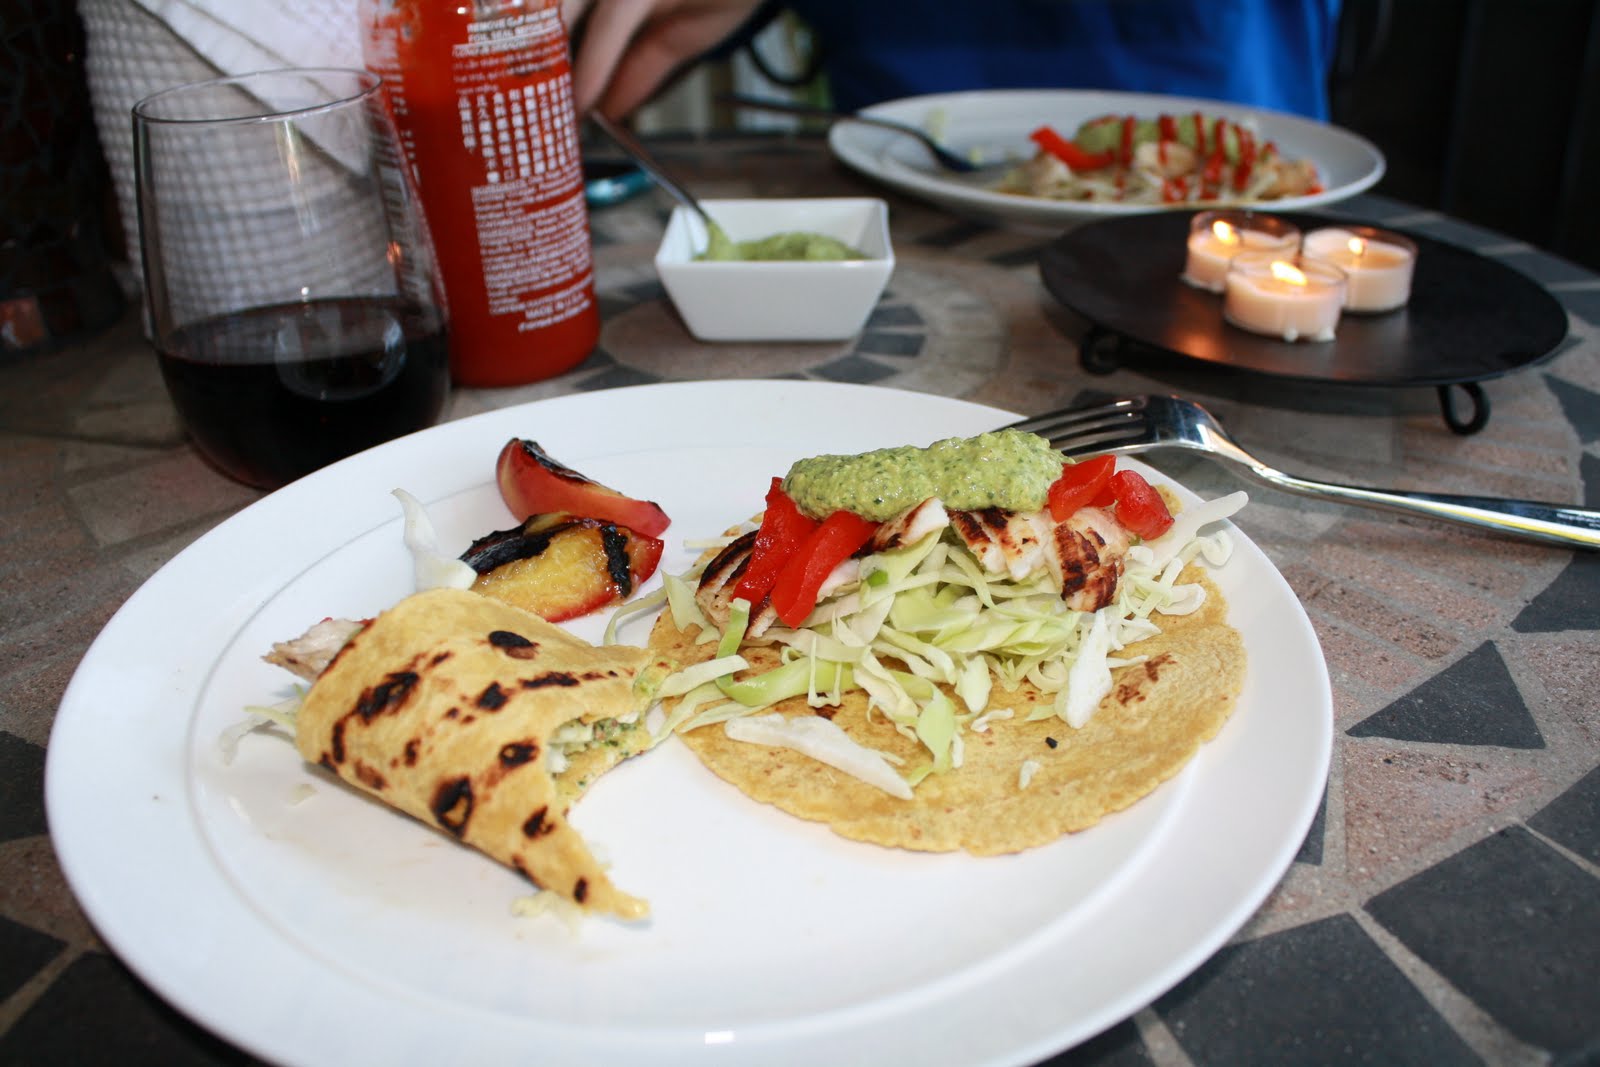
But these fish tacos are the perfect antidote to battle between healthy and tasty. They are made with any mild white fish (I used Talapia) cooked so simply that the meadly of flavors from the other ingredients shine right through. You get the lovely flavor of peppers, cilantro and corn tortillas with the health giving properties of the fish.

Let me intorduce you to the star of the show: The Green Sauce. I found this recipe on Sprouted Kitchen. As always, I will list the full recipe below.... but here is a quick run down of the tasty (and healthy!) ingredients that go into making this sauce:

cilantro, poblano peppers, plain yogurt, garlic, lime juice, olive oil, and cashews.

Hello, Super Foods galore!


Add in there some shredded cabbage which is a classic fish taco pairing, some roasted red bell pepper and you've got an intensely flavored, perfectly filling and healthful meal. Plus, you get a serving of fish.

The original recipe calls for some peaches to be thrown on the grill while the fish is cooking. Have you ever had grilled peaches? Do you know that here in California, peaches are ALL OVER the farmer's markets right now and the weather is just screaming for you to rip the cover off your BBQ and get to grilling? Start with grilled peaches if this whole fish taco thing is too intimidating. You'll be glad you did.


I just love recipes that flow. Like a dance, the timing of each step is in perfect harmony with what is going on in another aspect of the prep. Let me explain: You meander on outside and crank up the BBQ. While that is heating up, go back inside and prep your fish - add salt, pepper and lime. Cover and pop in the fridge. Grab your peppers, go outside and put them on the grill. Back to the kitchen- take a few minutes to gather and measure the ingredients for the green sauce. Put everything into the blender and mix it up. Go outside and rotate the peppers. Take them off when they look charred. Put them in a zip top bag and let them hang out while you slice up the peaches....
Grab your fish and peaches, stroll outside and put both on the grill. While those cook, go back in and take the pepers out of their plastic bag cacoon, de-seed them and remove skin. Blend poblanos into the green sauce, put the bells in a dish for serving. Go outside and flip the fish & peaches, add the tortillas to the grill. Go back inside and shred your cabbage. Put in a bowl for serving. Take everything off the grill and you're ready to assemble.

Very rhythmic. Very relaxing.


Assemble them as you like- a bed of cabbage on the bottom is preferred. Layer the fish, the red bell peppers, green sauce, and if you like a little heat, I added some Sriracha to each bite as I went along. We ate the peaches as a side, but I suppose they would be a nice addition to the tacos themselves.


So if you've ever been intimidated by cooking fish, or you just aren't really a fan of fish to being with:
Try these tacos. You will be so happy you did.


Fish Tacos- adapted from Sprouted Kitchen.
4 to 6 corn tortillas
12 oz. white fish (use whatever is local and fresh)
2 cups of shredded green cabbage
1 lime, zest and juice
1 peach, cut into eigths
1 red bell pepper
Garlic
Salt and Fresh Ground Pepper

For the green sauce:

1.5 cups cilantro
2 cloves of garlic
1 lime, zest and juice
0.5 cup of plain yogurt
1 tbsp. olive oil
0.5 cup cashews (walnuts, pistachios, whatever not you have on hand will work)
2 Poblano peppers, roasted and seeds removed
Garlic
Salt and Pepper

Here are the details:

~Sprinkle each side of the fish with salt and pepper. Rub the lime zest and juice into the fish, place in a bowl and cover with plastic wrap. Refrigerate.
~Put the bell peppers and the poblanos on the grill and char on all sides, total time should be about 8-10 minutes. Remove peppers and put them in a plastic bag about 5 minutes. The steam in the bag will make the skin come off very easily. Take them out and peel the skin off using your fingers or a paring knife. Remove the tops and the seeds. Chop them up, keeping them separate.
~Put the cilantro, garlic, lime, yogurt and olive oil in a blender or food processor. Blend it up. Add the poblano and blend again. Add whatever nuts you are using and belnd until smooth.

~Put the fish on the grill on top of a piece of non-stick foil, or regular foil if that's all you have. Put the peaches on the grill, cut side down. Close the lid and grill for about 6 minutes. Flip the peaches and the fish and grill for about 4 more minutes. Place the tortillas on the grill to warm (watch them, they will burn quickly!)
~Remove the fish when it flakes with a fork.
 
~Assemble your tacos and enjoy!

Thursday, June 9, 2011

The Perfect Cake for my Awesome Father in Law


My father in law's birthday is this weekend.
And what do you get the man who has everything??
A cake!


Obviously that would be the answer coming from someone who loves to bake, right? But I have to say that I have a sort of love/hate relationship with baking. The love part comes in the form of the actual process: the scouring over my favorite cookbooks (or blogs) for the perfect recipe, the gathering and measuring ingredients, sifting, stirring, scraping and baking. It is a very enjoyable process for me. The hate part comes in when I end up with a pile of chocolate chip cookies / box of cupcakes / pan of pound cake sitting on my counter... and ZERO willpower to resist the urge to eat it all. Can anyone relate to that?


 So let's focus on the love part for a moment here. Step 1: finding the perfect recipe. I've mentioned my trusty copy of Baking Illustrated before. I adore how much information they give you on how to make the uber-scientific process of baking work out just right. I could spend hours flipping through this book, reading recipes and discovering special techniques for piping meringue, shaping Ciabatta or assembling Baked Alaska. Nerdy? Maybe.


The only problem with my beloved cookbooks is that I spend the majority of my day at work, and unless I lug them into the office with me, my main source of inspiration comes from cooking blogs. Enter my inspiration: Piece of Cake. Shauna has a recipe for a Birthday Cake from Baking Illustrated. Yellow Layer Cake with Chocolate Cream Frosting. Perfect for two reasons. #1- I knew I could look up the recipe when I got home. #2- because my father in law is fond of the classics. He's a no frills kind of guy. Just pure and simple deliciousness.

 In the midst of my sifting and stirring and spreading, I took a moment to hand the paddle attachment covered in cake batter to my husband so he could "test it to make sure it wasn't poisonous". He asked if it was frosting. Yes, it is that good. And the (actual) frosting is so silky smooth, it's hard to resist eating it by the spoonful. 


As for the hate part of my love/hate relationship; this is the perfect way to make amends: Always share with your friends, family & co-workers. And do what you need to do to make sure you don't come home with the leftovers!

Happy Birthday, Mike!


** I must give credit for the first, last and second to last photo on here to my sister in law's husband, Mark. He does amazing things with a camera. I hope to start taking some pointers from him in the future.


Recipe from Baking Illustrated.

Yellow Layer Cake
1 3/4 cups (7 oz) plain cake flour, sifted
4 eggs, at room temperature
1/2 cup whole milk, at room temperature
2 teaspoons vanilla extract
1 1/2 cups sugar
2 teaspoons baking powder
3/4 teaspoon salt
16 tablespoons (2 sticks) unsalted butter, softened but still cool, cut into 16 pieces

1. Adjust an oven rack to the lower-middle position, and preheat the oven to 350 degrees. Generously grease two 9-inch round cake pans, and cover the bottoms with parchment or waxed paper. Grease the parchment and dust the pans with flour, tapping out the excess.

2. Beat the eggs, milk and vanilla with a fork in a small bowl. Measure out one cup of this mixture and set aside. Combine the flour, sugar, baking powder and salt in the bowl of stand mixer. Beat on low to blend, about 30 seconds. With the mixer still running on low, add the softened butter one piece at a time, mixing until the butter and flour begin the clump together, until it looks pebbly with pieces about the size of peas, 30 to 40 seconds after all the butter is added.

3. Add the reserved one cup of egg mixture and mix at low speed until incorporated, 5 to 10 seconds. Increase the speed to medium high and beat until light and fluffy, about 1 minute. Add the remaining egg mixture in a steady stream with the mixer running, taking about 30 seconds. Stop the mixer and scrape down the bowl and beater. Beat at medium-high speed again until the batter is thoroughly combined and just starts to look curdled, about 15 seconds.

4. Divide the batter equally between the pans, spread to the sides of the pan, making sure the surface is even and smooth. I used an offset spatula here. Bake until the cakes are light gold in color and a toothpick comes out clean, about 20 to 25 minutes. Cakes may mound slightly here, but not to worry, they will level out when cooled. Cool on a wire rack for 10 minutes then run a knife along the edges to loosen them from the pans. Let cool completely before icing.

For the Frosting:
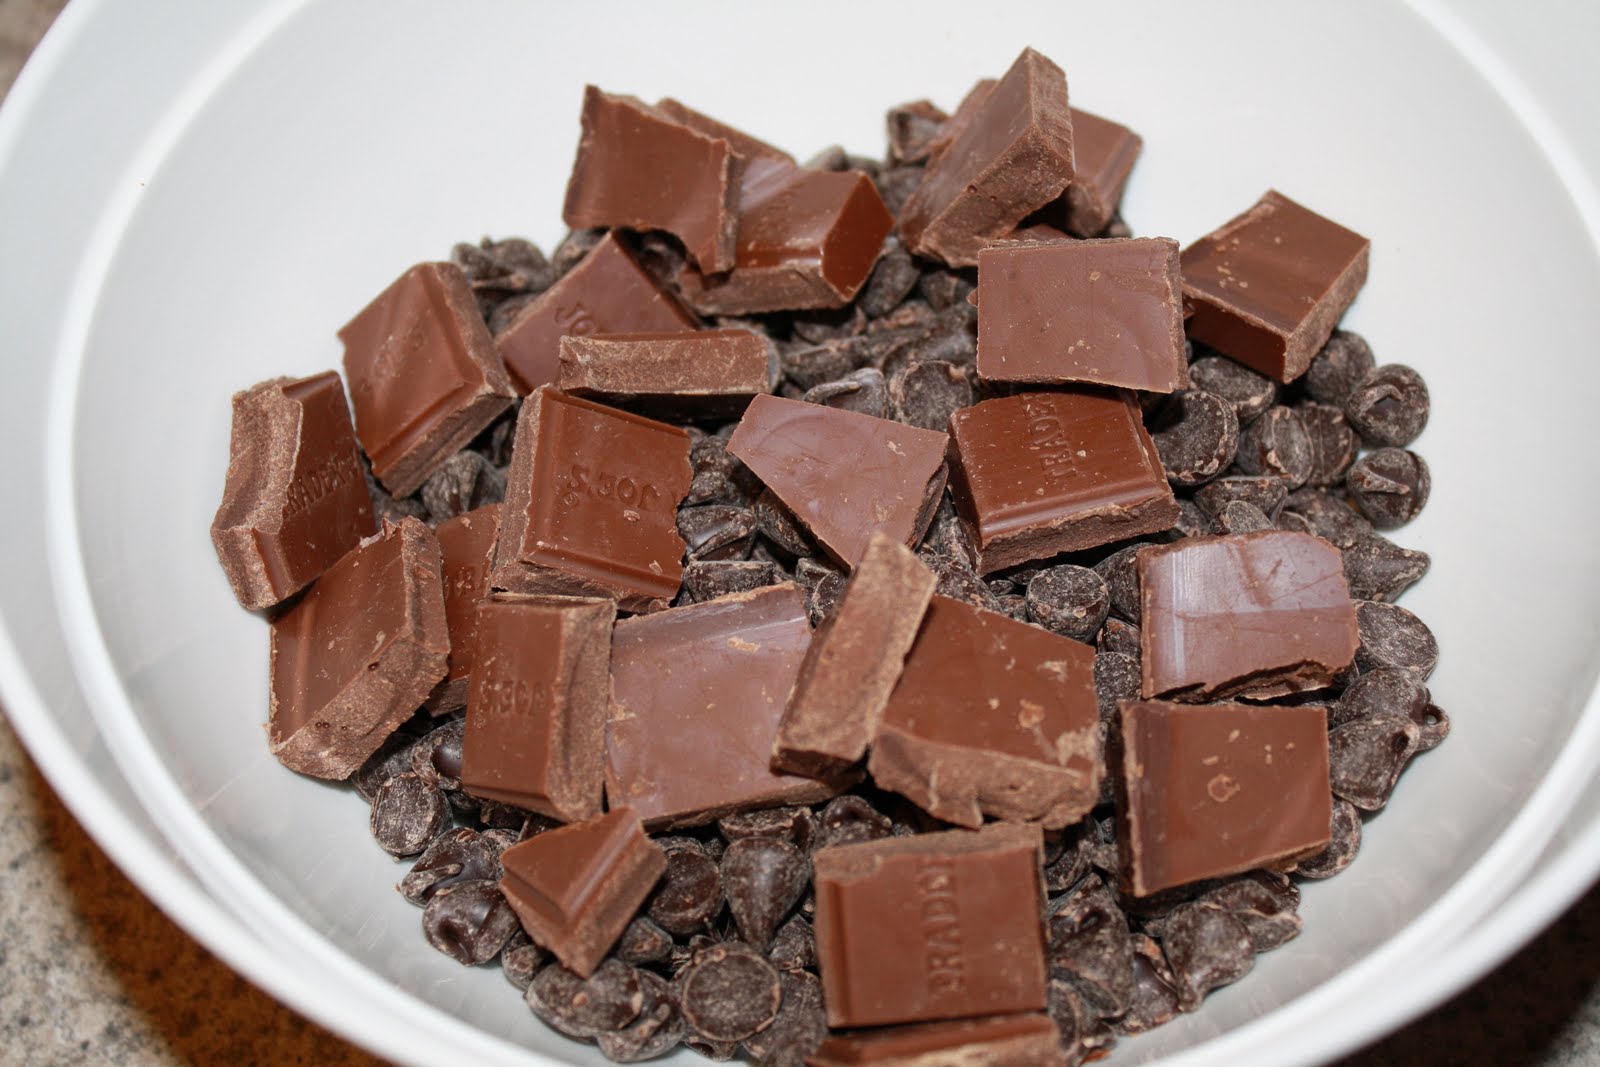
16 ounces semisweet chocolate, chopped fine (or use chips)
1 1/2 cups heavy cream
1/3 cup light corn syrup
1 tsp vanilla extract

Place the chocolate in a bowl. Bring the heavy cream to a simmer over medium-high heat in a small saucepan (Don't let this boil over! It makes a mess). Pour the cream over the chocolate, add the corn syrup and let the mixture stand for 3 minutes.

Whisk gently until smooth and then stir in the vanilla. Refrigerate for 1 to 1.5 hours, stirring every 15 minutes, until the mixture reaches a spreadable consistency. Ideally this would not be made ahead of time as it does not keep well. It should be consumed within a day. You can also whip the frosting with the whisk attachment on a stand mixer to create a frosting with a fluffier texture.