
My father in law's birthday is this weekend.
And what do you get the man who has everything??
A cake!

Obviously that would be the answer coming from someone who loves to bake, right? But I have to say that I have a sort of love/hate relationship with baking. The love part comes in the form of the actual process: the scouring over my favorite cookbooks (or blogs) for the perfect recipe, the gathering and measuring ingredients, sifting, stirring, scraping and baking. It is a very enjoyable process for me. The hate part comes in when I end up with a pile of chocolate chip cookies / box of cupcakes / pan of pound cake sitting on my counter... and ZERO willpower to resist the urge to eat it all. Can anyone relate to that?
So let's focus on the love part for a moment here. Step 1: finding the perfect recipe. I've mentioned my trusty copy of Baking Illustrated before. I adore how much information they give you on how to make the uber-scientific process of baking work out just right. I could spend hours flipping through this book, reading recipes and discovering special techniques for piping meringue, shaping Ciabatta or assembling Baked Alaska. Nerdy? Maybe.

The only problem with my beloved cookbooks is that I spend the majority of my day at work, and unless I lug them into the office with me, my main source of inspiration comes from cooking blogs. Enter my inspiration: Piece of Cake. Shauna has a recipe for a Birthday Cake from Baking Illustrated. Yellow Layer Cake with Chocolate Cream Frosting. Perfect for two reasons. #1- I knew I could look up the recipe when I got home. #2- because my father in law is fond of the classics. He's a no frills kind of guy. Just pure and simple deliciousness.

In the midst of my sifting and stirring and spreading, I took a moment to hand the paddle attachment covered in cake batter to my husband so he could "test it to make sure it wasn't poisonous". He asked if it was frosting. Yes, it is that good. And the (actual) frosting is so silky smooth, it's hard to resist eating it by the spoonful.

As for the hate part of my love/hate relationship; this is the perfect way to make amends: Always share with your friends, family & co-workers. And do what you need to do to make sure you don't come home with the leftovers!
Happy Birthday, Mike!
** I must give credit for the first, last and second to last photo on here to my sister in law's husband, Mark. He does amazing things with a camera. I hope to start taking some pointers from him in the future.
Recipe from Baking Illustrated.
Yellow Layer Cake
1 3/4 cups (7 oz) plain cake flour, sifted
4 eggs, at room temperature
1/2 cup whole milk, at room temperature
2 teaspoons vanilla extract
1 1/2 cups sugar
2 teaspoons baking powder
3/4 teaspoon salt
16 tablespoons (2 sticks) unsalted butter, softened but still cool, cut into 16 pieces
1. Adjust an oven rack to the lower-middle position, and preheat the oven to 350 degrees. Generously grease two 9-inch round cake pans, and cover the bottoms with parchment or waxed paper. Grease the parchment and dust the pans with flour, tapping out the excess.
2. Beat the eggs, milk and vanilla with a fork in a small bowl. Measure out one cup of this mixture and set aside. Combine the flour, sugar, baking powder and salt in the bowl of stand mixer. Beat on low to blend, about 30 seconds. With the mixer still running on low, add the softened butter one piece at a time, mixing until the butter and flour begin the clump together, until it looks pebbly with pieces about the size of peas, 30 to 40 seconds after all the butter is added.
3. Add the reserved one cup of egg mixture and mix at low speed until incorporated, 5 to 10 seconds. Increase the speed to medium high and beat until light and fluffy, about 1 minute. Add the remaining egg mixture in a steady stream with the mixer running, taking about 30 seconds. Stop the mixer and scrape down the bowl and beater. Beat at medium-high speed again until the batter is thoroughly combined and just starts to look curdled, about 15 seconds.
4. Divide the batter equally between the pans, spread to the sides of the pan, making sure the surface is even and smooth. I used an offset spatula here. Bake until the cakes are light gold in color and a toothpick comes out clean, about 20 to 25 minutes. Cakes may mound slightly here, but not to worry, they will level out when cooled. Cool on a wire rack for 10 minutes then run a knife along the edges to loosen them from the pans. Let cool completely before icing.
For the Frosting:
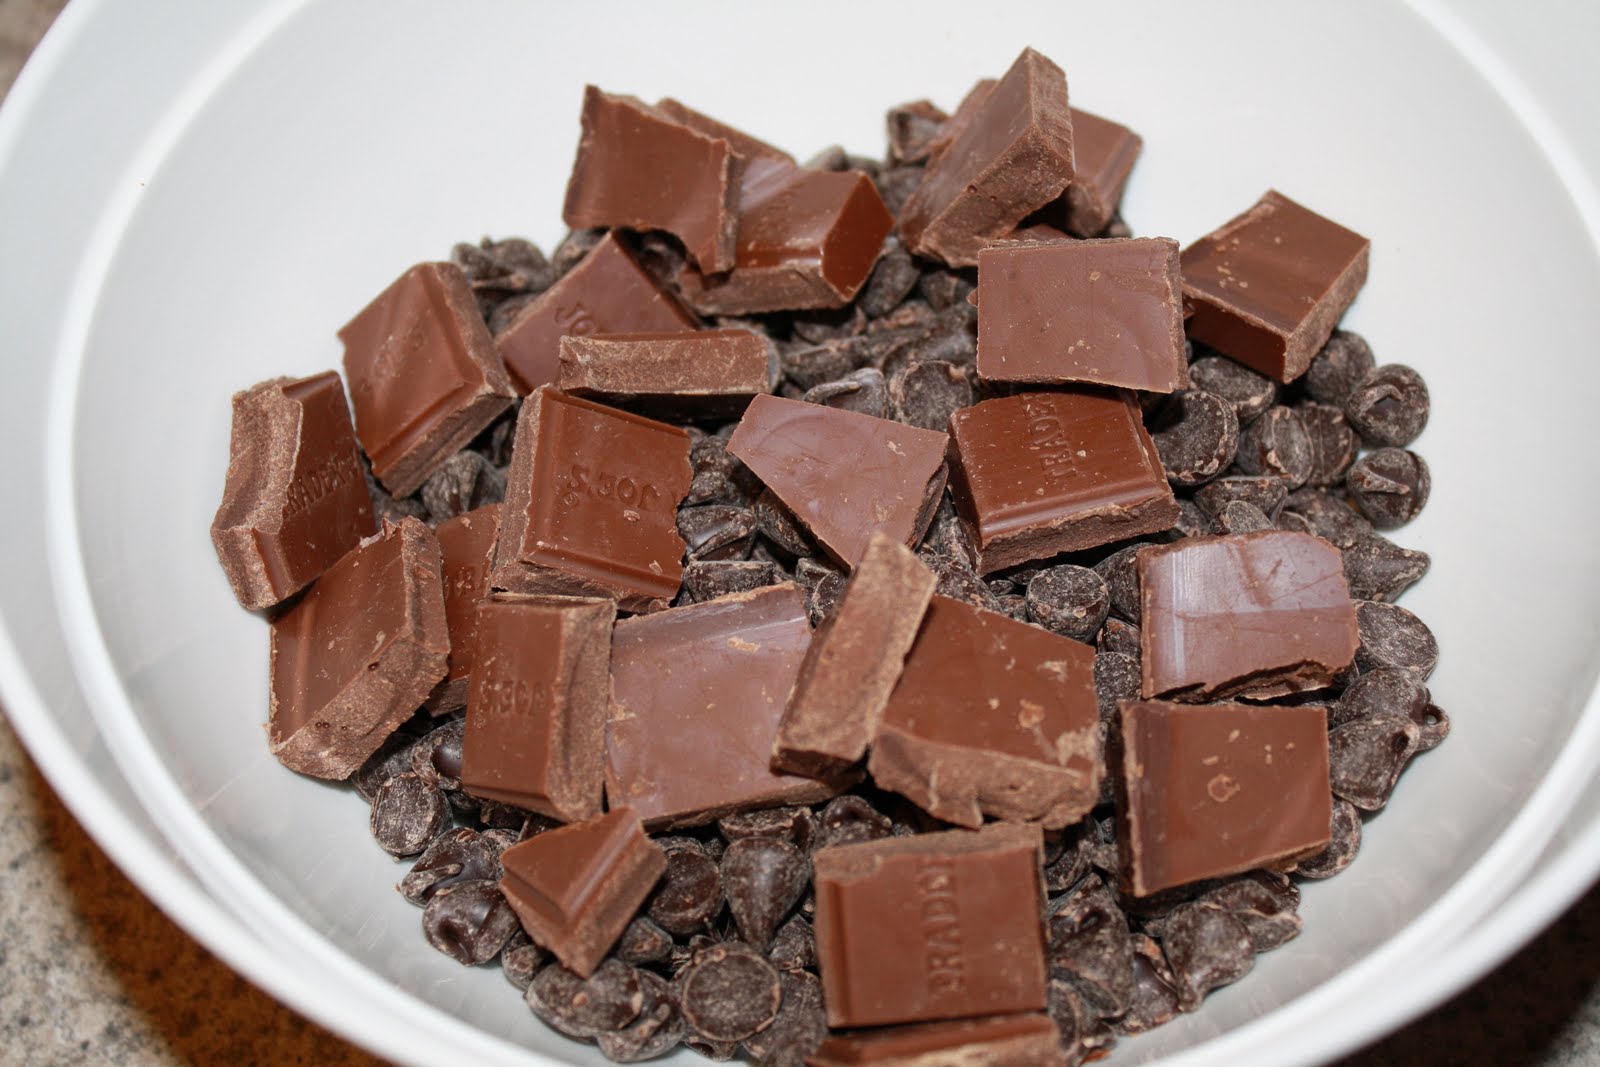
16 ounces semisweet chocolate, chopped fine (or use chips)
1 1/2 cups heavy cream
1/3 cup light corn syrup
1 tsp vanilla extract
Place the chocolate in a bowl. Bring the heavy cream to a simmer over medium-high heat in a small saucepan (Don't let this boil over! It makes a mess). Pour the cream over the chocolate, add the corn syrup and let the mixture stand for 3 minutes.
Whisk gently until smooth and then stir in the vanilla. Refrigerate for 1 to 1.5 hours, stirring every 15 minutes, until the mixture reaches a spreadable consistency. Ideally this would not be made ahead of time as it does not keep well. It should be consumed within a day. You can also whip the frosting with the whisk attachment on a stand mixer to create a frosting with a fluffier texture.
.jpg)


No comments:
Post a Comment