This is another great recipe from David Lebovitz. I check his blog often because he has awesome dessert recipes... and because he lives in France... and I love all things French! It has been almost 10 years since I lived there, and I feel like reading his blog keeps me in touch with la vie française. I like that. He also travels quite a bit so reading his stories about places he visits is inspiring to me.
** Side note if you're into farmers markets: He recently posted about his visit to Cork, Ireland. He details his experience at their farmers market. Here's the link if you want some good reading.
David's recipe for Dulce de Leche Brownies:
8 tablespoons butter cut into pieces
6 ounces bittersweet or semisweet chocolate, finely chopped
1/4 cup unsweetened Dutch-process cocoa powder
3 large eggs
1 cup sugar
1 teaspoon vanilla extract
1 cup flour
1 cup Dulce de Leche (or Cajeta)
Preheat the oven to 350 degrees.
Line a 8-inch square pan with a long sheet of non-stick aluminum foil that covers the bottom and reaches up the sides. If you don't have non-stick foil, grease the bottom and sides of the foil with a bit of butter or non-stick spray.
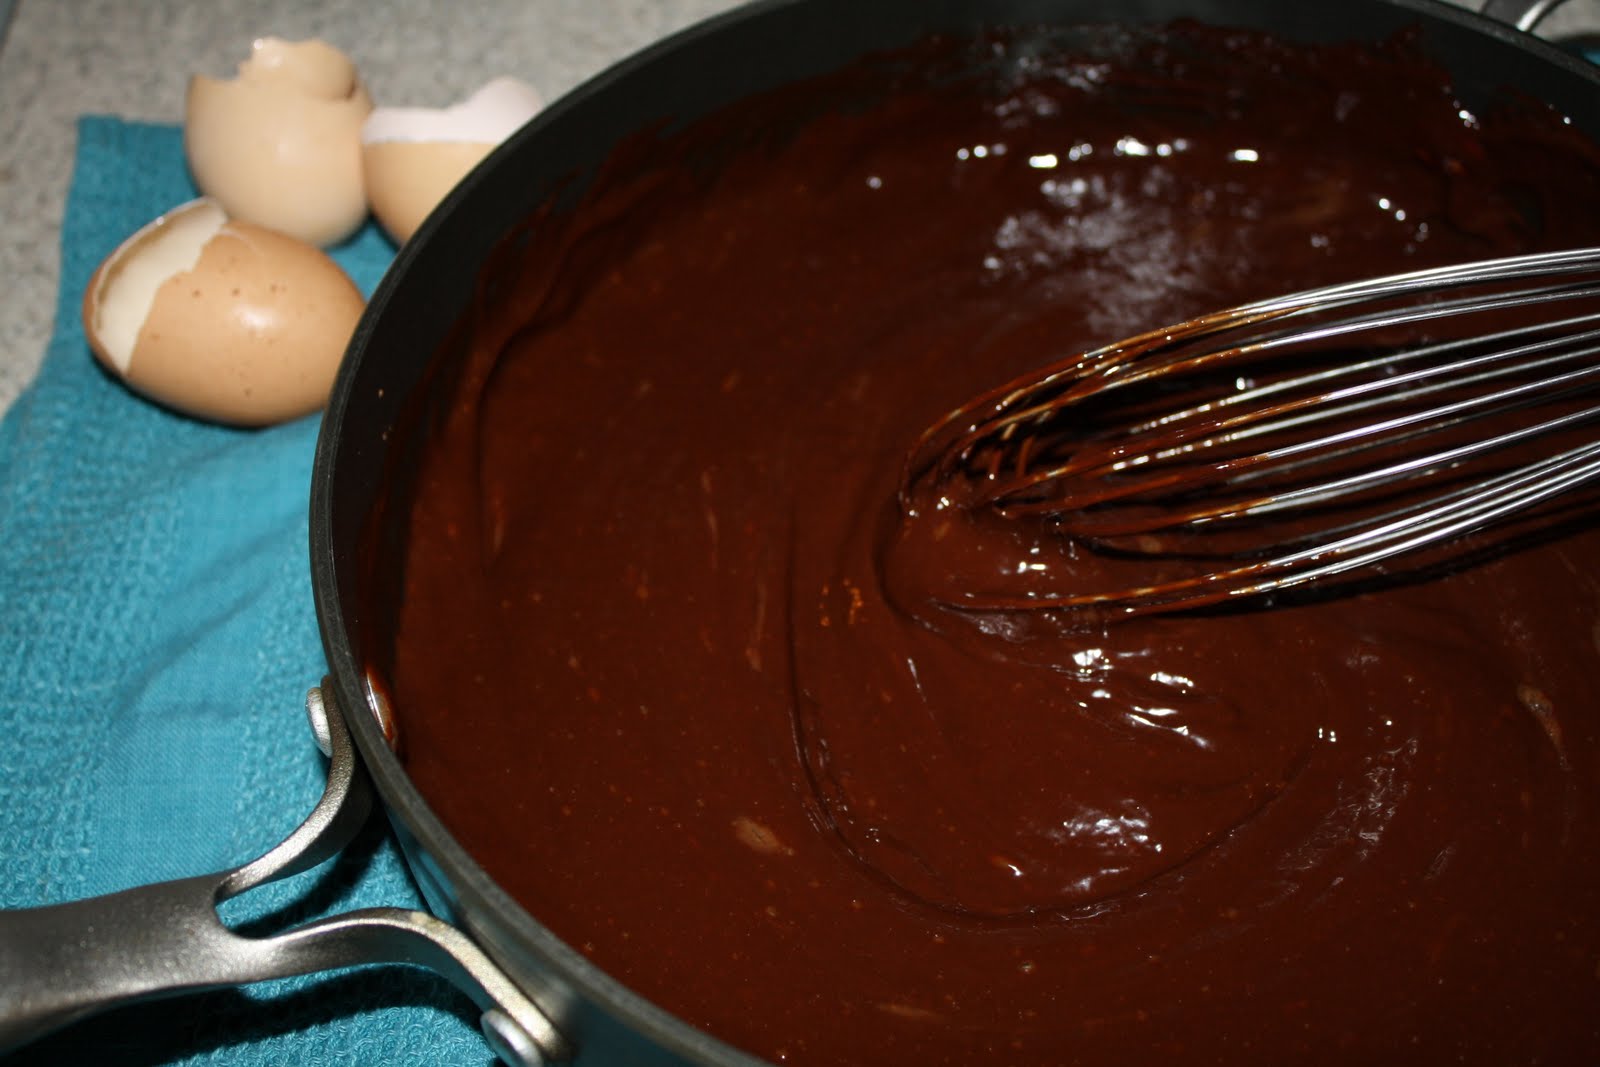
Melt the butter in a medium saucepan.
Add the chocolate pieces and stir constantly over very low heat until the chocolate is melted.
Remove from heat and whisk in the cocoa powder until smooth. Add in the eggs one at a time, then stir in the sugar, vanilla, then the flour.
Now comes the dulce de leche part.... you can probably find canned dulce de leche in the grocery store, but if you can't, follow David's recipe for making your own. I am sure its worth it. In a pinch, the canned stuff is perfect. I found it right next to the sweetened condensed milk at the grocery store. This is what it looks like:
Scrape half of the batter into the prepared pan. Drop one-third of the Dulce de Leche, evenly spaced, over the brownie batter, then drag a knife through to swirl it slightly. Spread the remaining brownie batter over, then drop spoonfuls of the remaining Dulce de Leche in dollops over the top of the brownie batter. Use a knife to swirl the Dulce de Leche slightly.
Bake for 35 to 45 minutes. The brownies are done when the center feels just-slightly firm. Remove from the oven and cool completely.
These brownies actually become better the second day, and will keep well for 3-4 days.
I don't have a photo of the cooked brownies. Their yumminess took over my ability to have a rational thought :(
Friday, September 24, 2010
Dulce de Leche Brownies


Sunday, September 19, 2010
Graphic Onesies : Tutorial

Have you ever thought to yourself, "I could make that!" and then you try, and it's really not as good as you expected it to be?
I did that around this time last year with a necktie onesie for my sister in law. I free-handed a little pattern in the shape of a necktie and just sewed it right on there. It was cute, but not nearly as cute/perfect/professional as the one I recently found on Crap I've Made (which I really found via Big Sis Lil Sis -- thank you Erica!)
So when I needed a quick baby shower gift for one of the girls in my small group, Esther, I gave the ole necktie onesie another shot. And also tried the cute rocket graphic from Crap I've Made.
Here is a quick run down of how it's done:
Get a scrap of fabric you like, you don't need much. I used this black & gray paisley.

Iron a piece of Wonder Under to the scrap.

Peel the paper off and trace the pattern onto the fabric.

Cut your pieces out.
 Place the knot onto your onesie, making sure its centered.
Slip the tail of the tie under the knot and iron in place.

Wonder Under is supposed to keep the fabric in place, even through washings, but I like the look of a little topstitch all the way around.

For the matching burp cloth, measure your trifold cloth diaper (mine was about 14 inches wide). Cut a strip of fabric 15x5. Tuck under 1/2 inch on each side and pin in place. Topstitch around all 4 sides. Repeat for the other end.
 I recommend using white bobbin thread so the stitches are less noticeable on the underside.
There you have it! A matching onesie / burp cloth set.


Package up with a little gift card and you have the perfect shower gift!
Strawberry Jam

Some of you guys know that my husband and I live somewhat in the hood. We joke and call it the hood, but really, it is a very family oriented (and very food oriented) neighborhood. We have a regular ice cream truck that comes by just before the sun sets, we have the Mexican bread man who wheels his card by in the afternoons selling delicious baked goods. And every few days in the summer we have people come to the door selling flats of strawberries. I was home early from work last week when the strawberry guy came by. $7 for a flat of strawberries?? YES. Could my husband and I have eaten all 8 baskets of strawberries before they went bad? Probably not.

Next best thing? Jam.
This recipe is from the Ball Blue Book Guide to Preserving I got at the local hardware store for about $8. It has recipes for anything you could ever possibly can or preserve.
Strawberry Jam:
2 quarts strawberries
1 package powdered pectin
1/4 cup lemon juice
7 cups sugar

Wash strawberries; drain. Remove stems. Crush strawberries one layer at a time.

Combine strawberries, powdered pectin and lemon juice in a large saucepot.

Bring to a boil, stirring occasionally. Add sugar, stirring until dissolved. Return to a rolling boil. Boil hard 1 minute, stirring constantly.

Remove from heat. Skim foam if necessary. Ladle hot jam into jars leaving 1/4 inch head space.


Adjust 2 piece caps (lid and ring) finger tighten the ring and let them sit on the counter undisturbed for 24 hours. You should hear the lids start to pop within a few minutes. This means they are sealing. Any jam recipe will call for you to process the jars for 10 minutes in boiling water. This is to ensure that they seal, but I have always found that they seal just fine without the boiling water bath. You can do it if you choose.

Make some cute labels and give them out to your friends and family.
There is something super satisfying about a PB&J with jam you made from scratch :)
Just a few notes here for anyone wanting to make their own jam:
~Most people sterilize their jars the traditional way by boiling them. You need to have clean jars for obvious reasons, and you need to have hot jars to prevent the glass from being shocked by the hot liquid and breaking. I like to run mine through the dishwasher and run the heated dry. This cleans them and gets them nice and hot. You can do it either way.
~When crushing the strawberries, you think you need to mush them up a lot, try to refrain; the chunks will break up once you boil the mixture.
~The insert says that you can add a little bit of butter to reduce foaming. I would suggest doing the butter. I didn't this time and I had a lot of foam. You don't want foam in your jam.
~ Last thing to remember about making jam- preparation is EVERYTHING. Make sure you read the recipe through a few times, have everything you need ready to go before you start. It is also way convenient to have an extra set of hands to do the lids while you ladle.
Have fun and enjoy the fruits of your labor!
Friday, September 17, 2010
My new go-to cookie!!
Peanut Butter Cup Cookies!!

When I need a quick batch of cookies for a party or just to satisfy a sudden sweet tooth, I usually fall back on the tried and true chocolate chip cookie. But when I had a Costco sized container of peanut butter on hand leftover from a camping trip, I started thinking of ways to chocolateize (yes, I just made that word up) the usual peanut butter cookie.
These are a total hit everywhere I bring them. As you can see from my pictures, I also used Hershey's Kisses because I wasn't sure if people would be put off by too much peanut butter on peanut butter action. Can you ever have too much peanut butter? Apparently not, because there are always leftovers of the Kiss ones, and none of the peanut butter cup ones.
Here's the recipe, it's from www.Cooks.com:
**One item of special equipment that will be needed: small tart tins / mini muffin tins.
1/2 c. butter
1/2 c. peanut butter
1/2 c. packed brown sugar
1/2 c. granulated sugar
1 egg
1/2 tsp. vanilla
1 1/2 c. flour
3/4 tsp. baking powder
1/2 tsp. salt
1 bag Reese's small peanut butter cups
Chill the peanut butter cups for a few minutes in the freezer, then unwrap. It works best when the cups are cold, the wrappers don't take any chocolate with them. Set unwrapped cups aside.
Cream butter, peanut butter and sugars. Beat in egg and vanilla. Add flour & baking soda to creamed mixture. Mix until a nice dough forms. Shape into 1 inch balls and put in ungreased small tart tins. Do not spread dough in cups, but feel free to press them down a little bit. Bake at 375 degrees for 8-10 minutes. Look for the cracks in the cookie to know when they're done. Remove from oven and immediately press peanut butter cup into center. Let cool in tins for 15 minutes and remove. Be careful when storing, the chocolate will remain melty for a while.
Makes 48-50 cookies.


You will be eating these by the half dozen, guaranteed.
Subscribe to:
Posts (Atom)
.jpg)


